Start with how you use it
Count the vehicles you park, the visitors you have and the deliveries you receive. Consider boats, trailers and basketball hoops. A good driveway fits real life, not a template.
Sketch where cars will stand and where people will walk.
Think about the next ten years, not only today. A growing family, a teenage driver or a boat in the side yard can change how much pavement you need, and it is easier to design it in than to add it later. Sketching your drive on paper, with cars drawn to scale, often reveals problems that are hard to see in your head.
Width and turning space
A single-car driveway is typically ten to twelve feet wide, a two-car driveway about twenty feet. Add room at the garage for opening car doors, and consider a turnaround so no one backs onto the street.
Wider aprons at the street make turns easier.
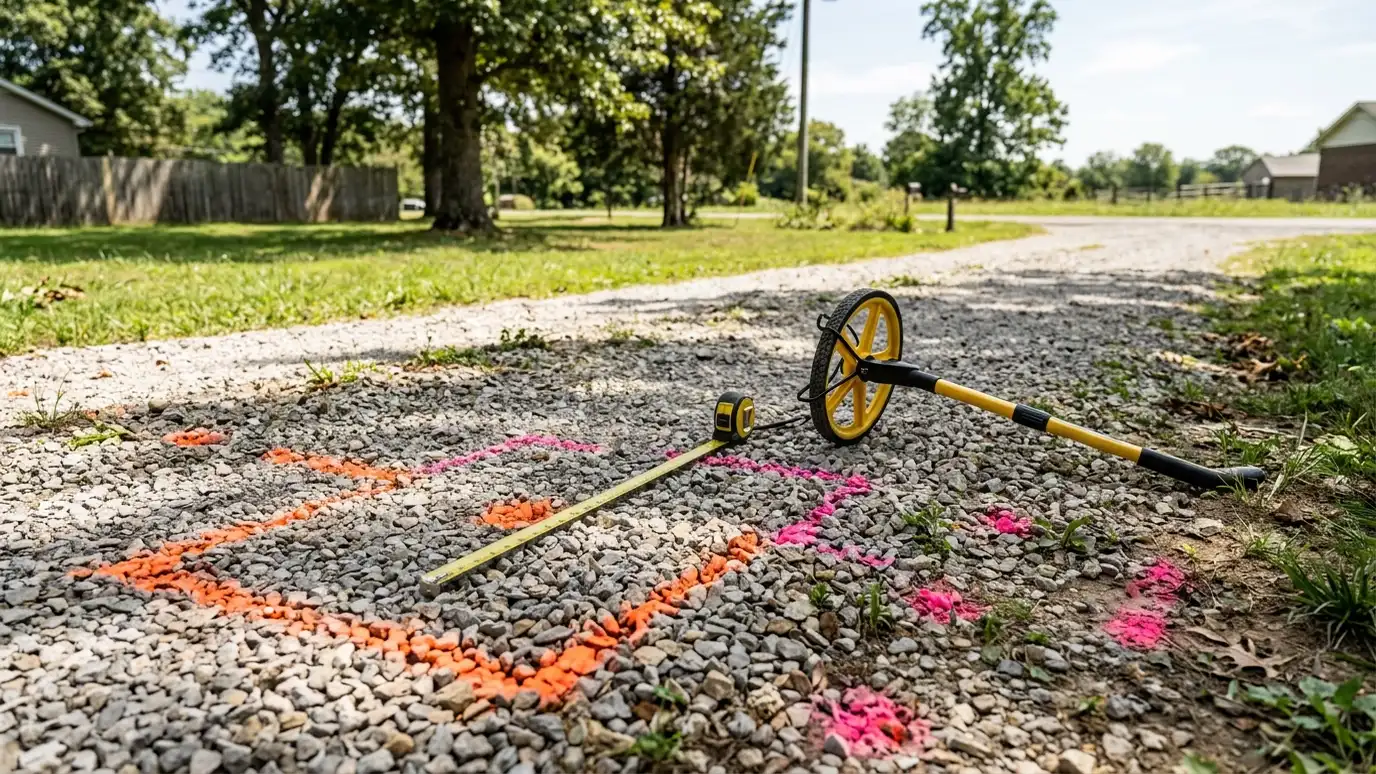
Turning space matters as much as width. A small hammerhead or a wider apron makes backing out far easier, and it keeps wheels off the lawn, which protects edges and saves repair work. Test your plan with chalk or string on the ground, then park a car where you think it will go. A few minutes of testing prevents expensive regrets.
Curves and circular drives
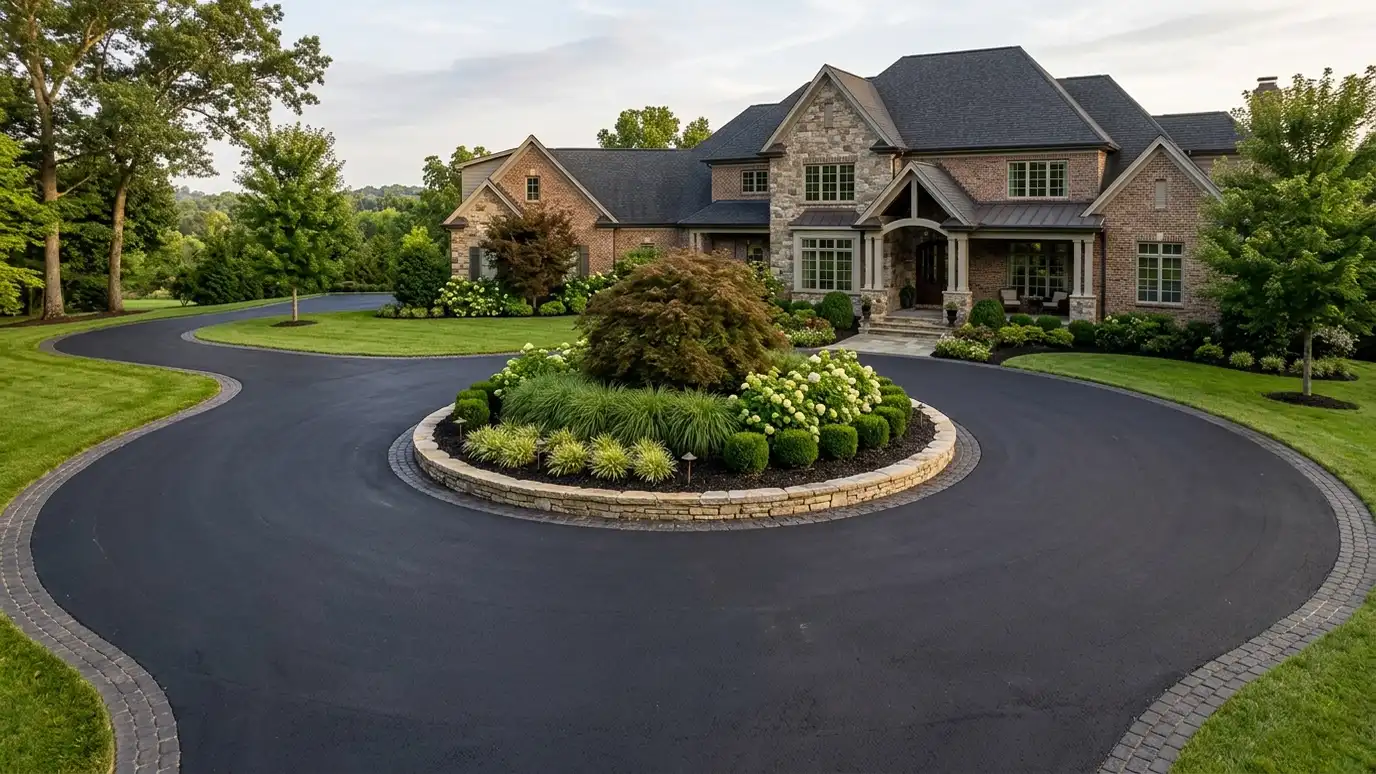
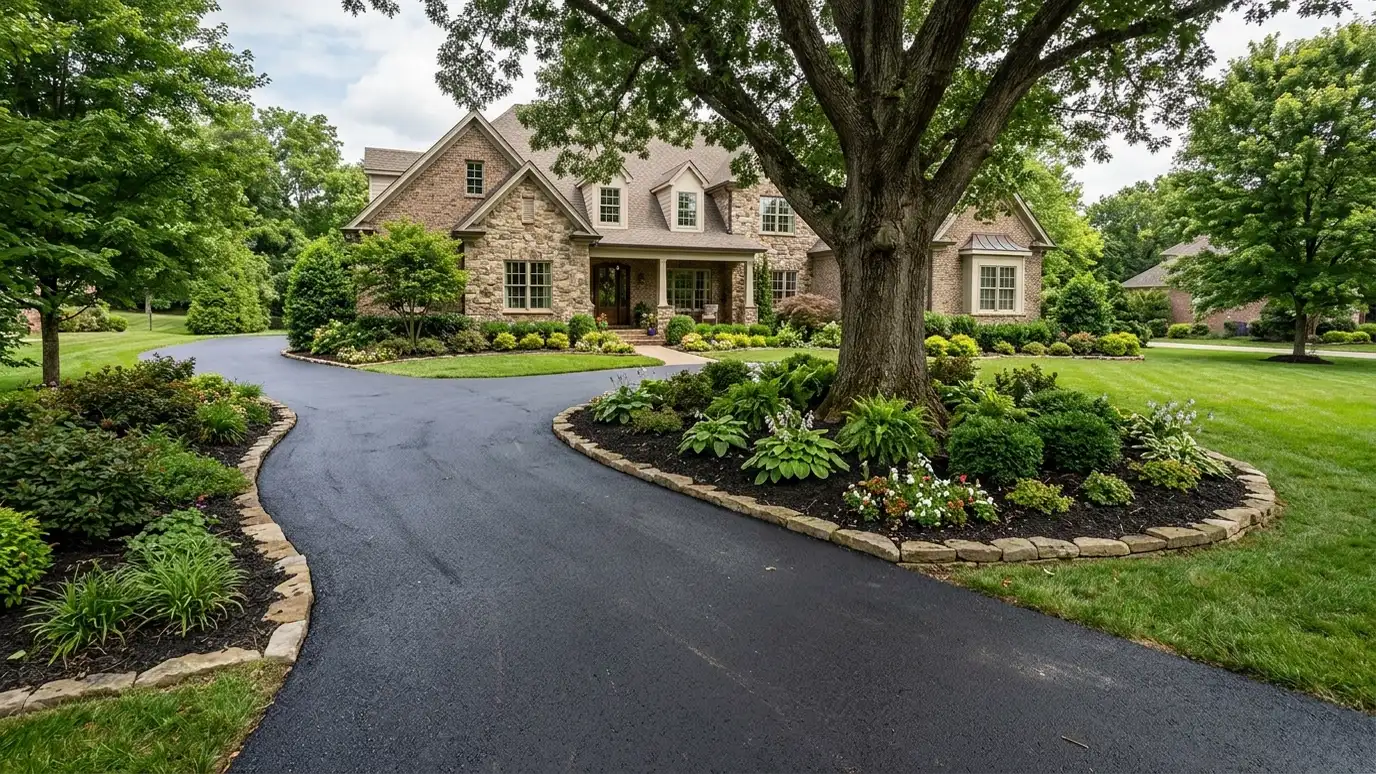
Gentle curves look natural on larger lots and soften the view of the garage. Circular drives add guest parking and an entry presence, but need more land and base. Curves require careful grading and edge support.
We test layouts with stakes and paint before paving.
A curved drive looks lovely, though curves need careful grading so that water leaves the surface and snow does not collect on the inside edge. Ask for a sketch before work starts. Large lots can make a curved or circular drive feel just right, while small lots usually look best with a simple, straight design.
Slopes and drainage
Steep drives are dangerous in winter and hard on cars. Gentle slopes shed water while keeping tires planted. We plan grades and add drains where water crosses the driveway.
Drainage is part of design, not an afterthought.
In ice and snow, steep driveways are hard on tires and dangerous on foot. If your site is steep, a different approach angle, a switchback or a heated section for the steepest part may be worth discussing. Ask your contractor to check the slope with a level before paving, since a small change in grade is easy to make during grading and hard to make afterward.
Parking pads and extras
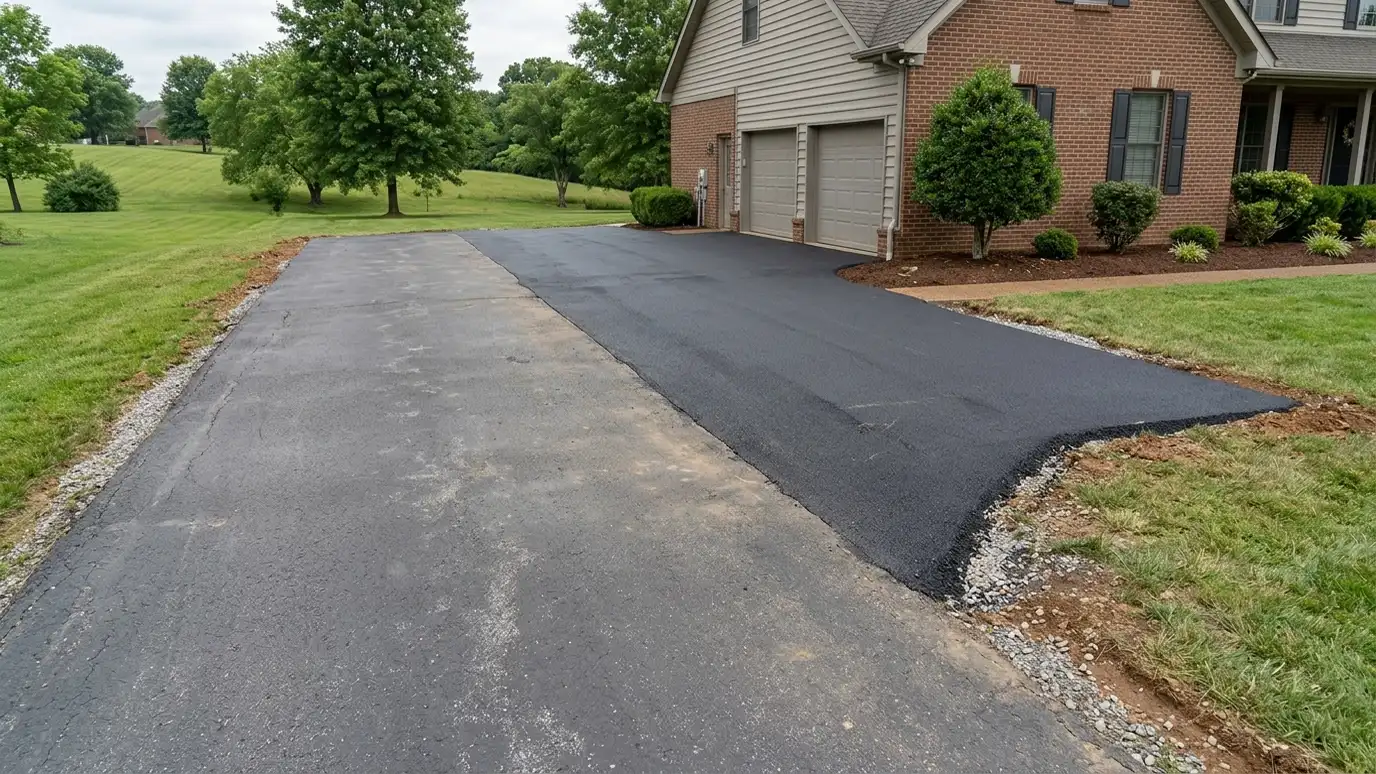
Extra pads for guests, RVs, boats and basketball can be added to the main run. Walkways connect to doors and mailboxes. Plan utilities and lighting before paving.
Think five years ahead.
Extra pads for guests or hobbies are easiest to build as part of the main project, with a smooth transition at the joint. Adding them later is possible, though the seam will show a little.
Borders, color and finish
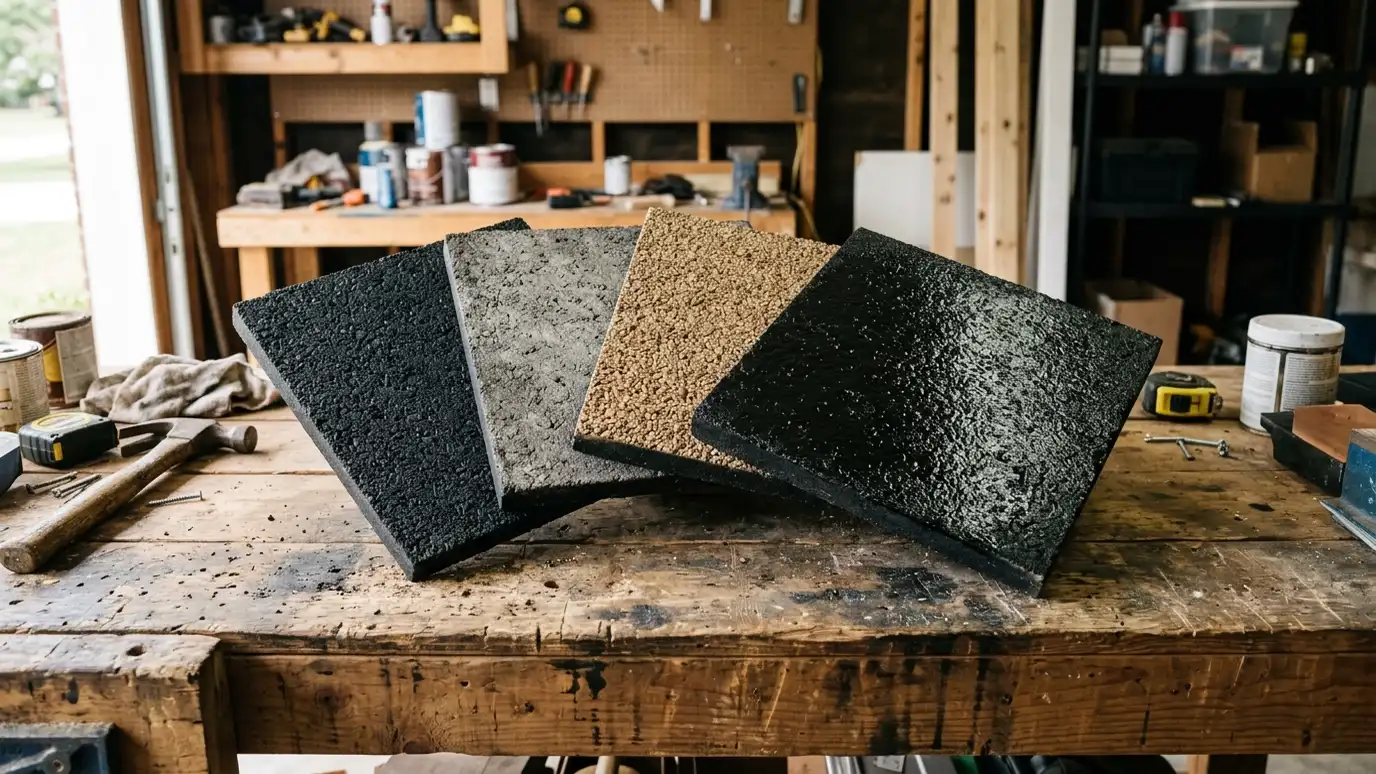
Brick, paver or concrete borders frame the drive and strengthen edges. Tinted asphalt and stamped patterns add color and detail. Sealcoating gives a uniform finish.
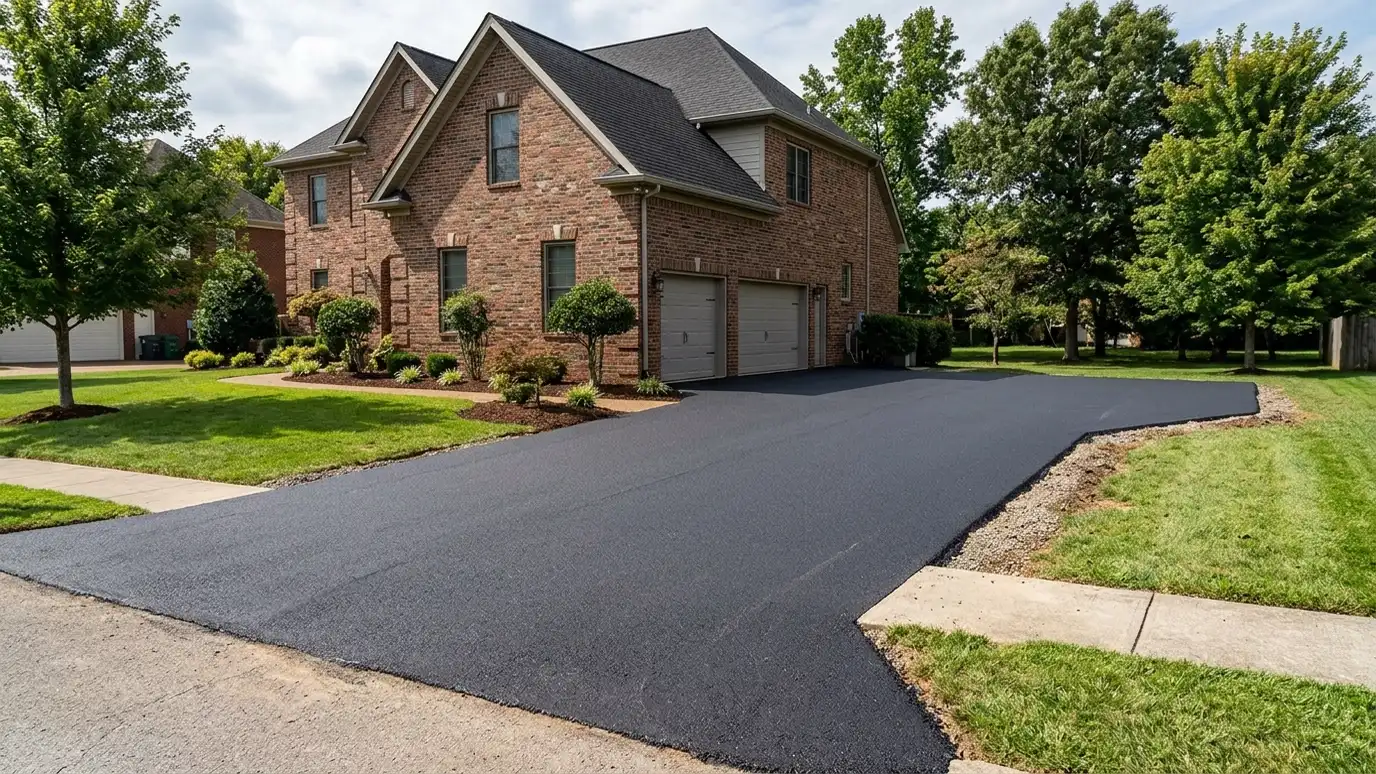
Keep the design in harmony with the house and landscape.
Borders can be a small addition with a big impact, since they strengthen the edge and give the pavement a finished frame. Bricks, pavers and concrete bands each age a little differently, so see samples first.
Permits and neighbors
Street aprons and curb cuts may need permits, and HOAs sometimes control width, color and materials. Check rules early.
We help you prepare drawings and photos for approval.
Before you finalize the plan, call your utility locate service and check any deed or association rules. A short call now avoids delays and rework after the equipment arrives. Send us photos and measurements, and we will suggest a layout with width, curves and borders for your approval.
Design around how you live, give water a path and plan borders and extras before paving, not after.