Step one: the call and the visit
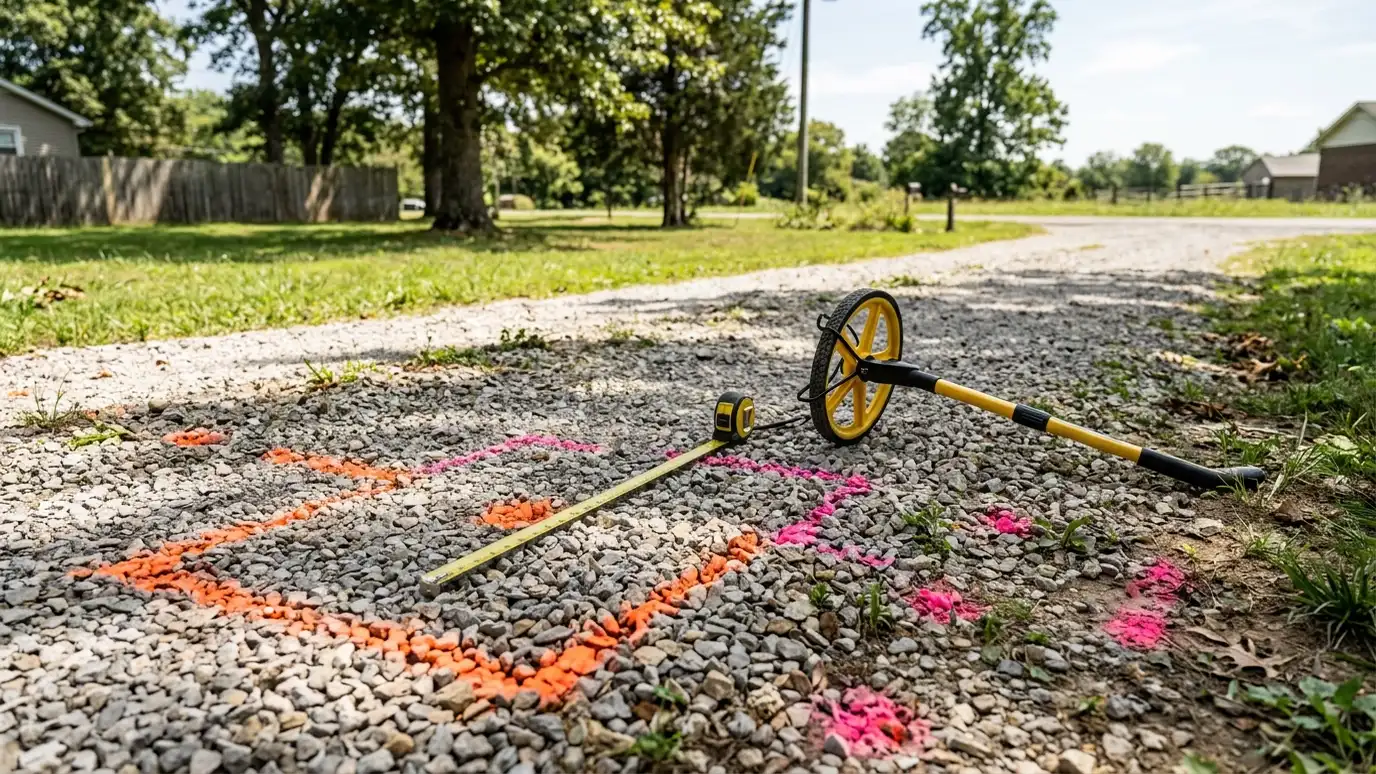
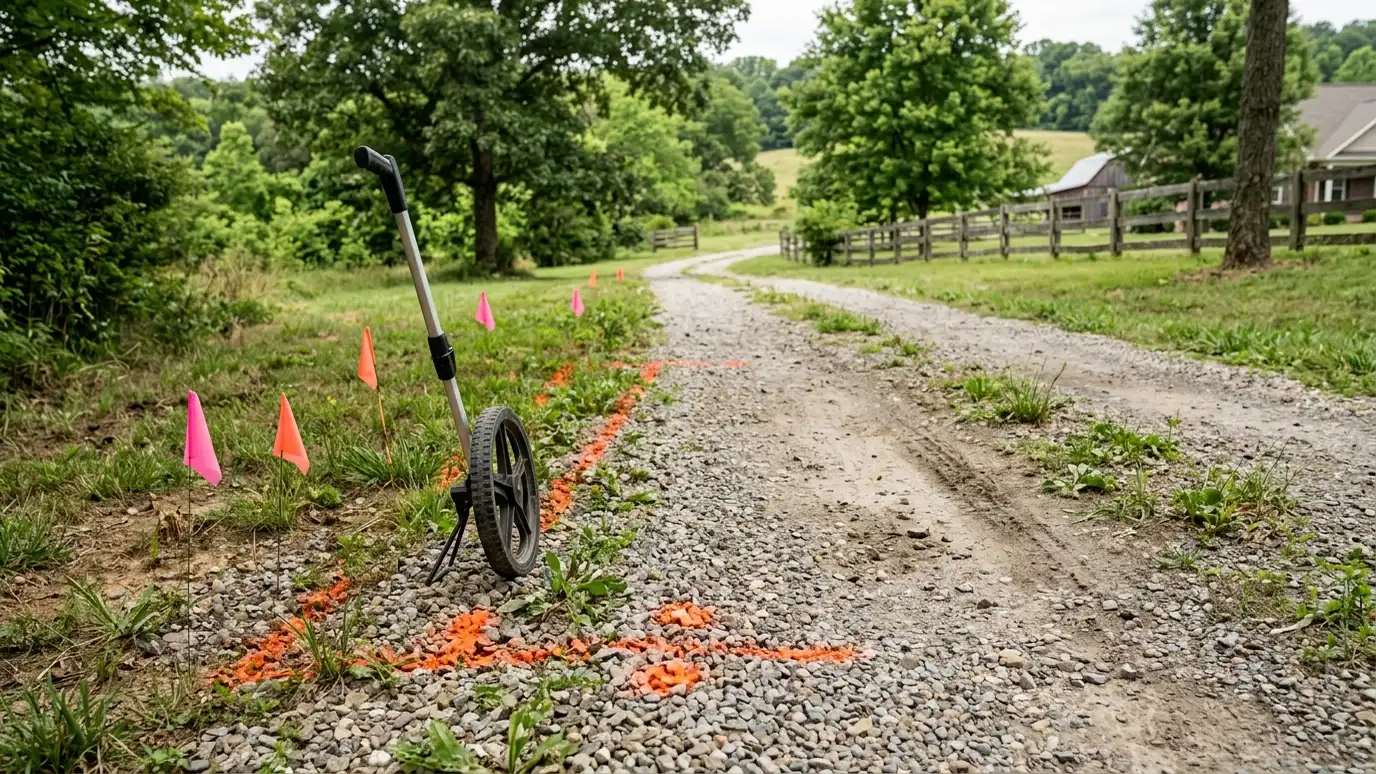
Every project starts with a conversation about what you want and what is bothering you now, followed by a site visit. We measure, check slope and drainage, probe the soil and look at the existing pavement. A quote without a visit is a guess.
You receive a written Free Estimate listing the work, thickness and extras. You can ask questions and compare options before deciding.
Bring photos, a list of problems and any questions about drainage, slope or neighbors to the first visit. The more we know about how you use the pavement, the better the plan fits, and the visit usually takes under an hour for a typical driveway.
Step two: scheduling and preparation
Once you approve, we schedule the work around weather and your needs. We confirm utility locations, mark the layout and tell you how to prepare, such as moving vehicles and watering plans. For larger jobs, we coordinate notices to neighbors and tenants.
Paving depends on the forecast, since hot mix needs warm, dry conditions to compact well. We watch the weather and tell you early if a date moves.
Good preparation also means telling neighbors about equipment and noise, moving vehicles and basketball hoops, and marking sprinkler heads, invisible fences and shallow lines. A few minutes of planning avoids most day-of surprises.
Step three: removal and grading
If old pavement is coming out, we saw cut the edges and remove the asphalt. We then shape the ground so water drains and the pavement sits at the right height. Soft areas are dug out and replaced.
This stage is where most of the success of the project is decided. Rushed grading shows up later as puddles and cracks.
Saw cutting gives a clean, straight edge where new asphalt meets old, which helps the joint stay tight. Grading then sets the slope that sheds water, so this step shapes how the finished surface will perform in every storm.
Step four: the stone base
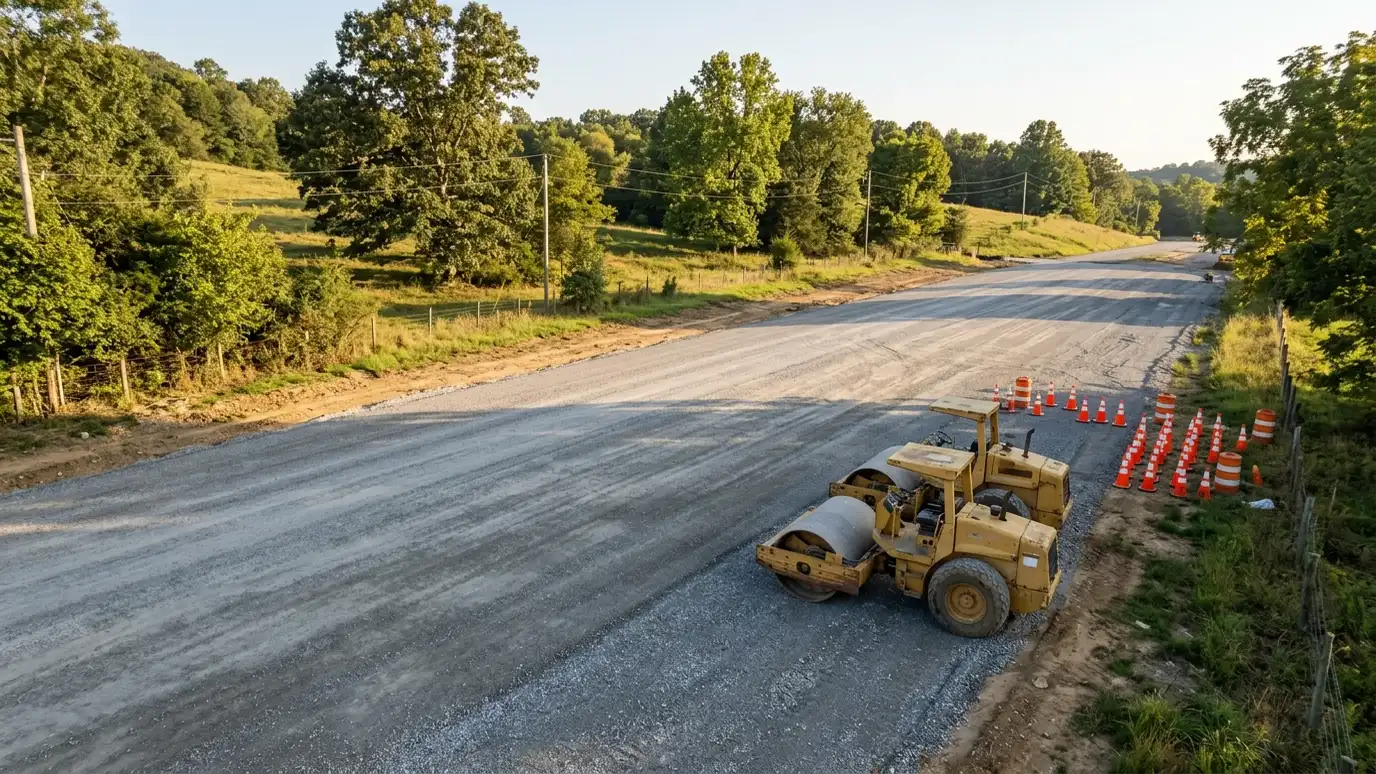
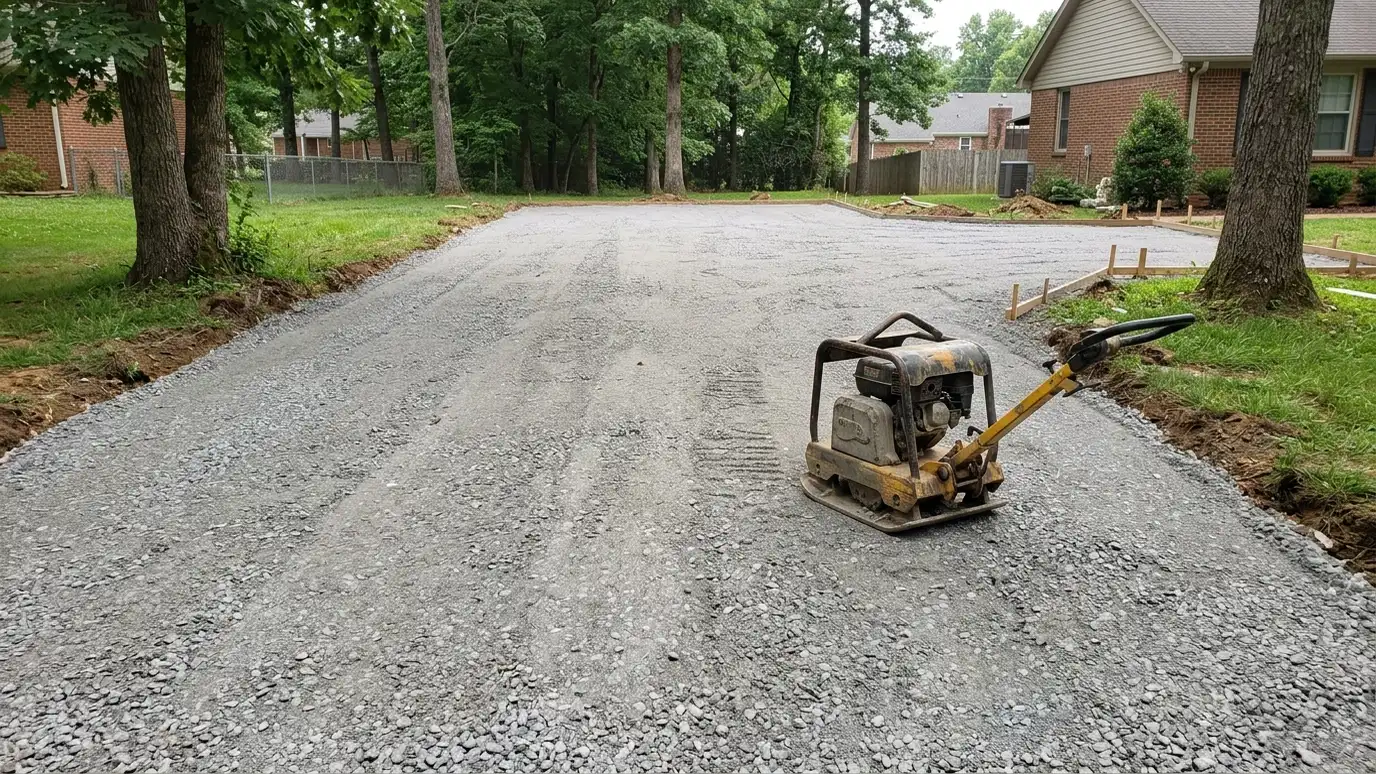
Crushed stone goes down in lifts, with each lift compacted by a roller or plate. The base is checked for slope and firmness, and extra depth or fabric is added where soils are weak.
A dense, true base gives the asphalt something solid to carry loads. It is invisible when the job is done, and it matters as much as anything you can see.
The base is where lasting quality is built. Each lift is compacted, checked for firmness and shaped to the final grade before any asphalt arrives. A base that rolls firm and smooth under the roller is a good sign.
Step five: paving and compaction
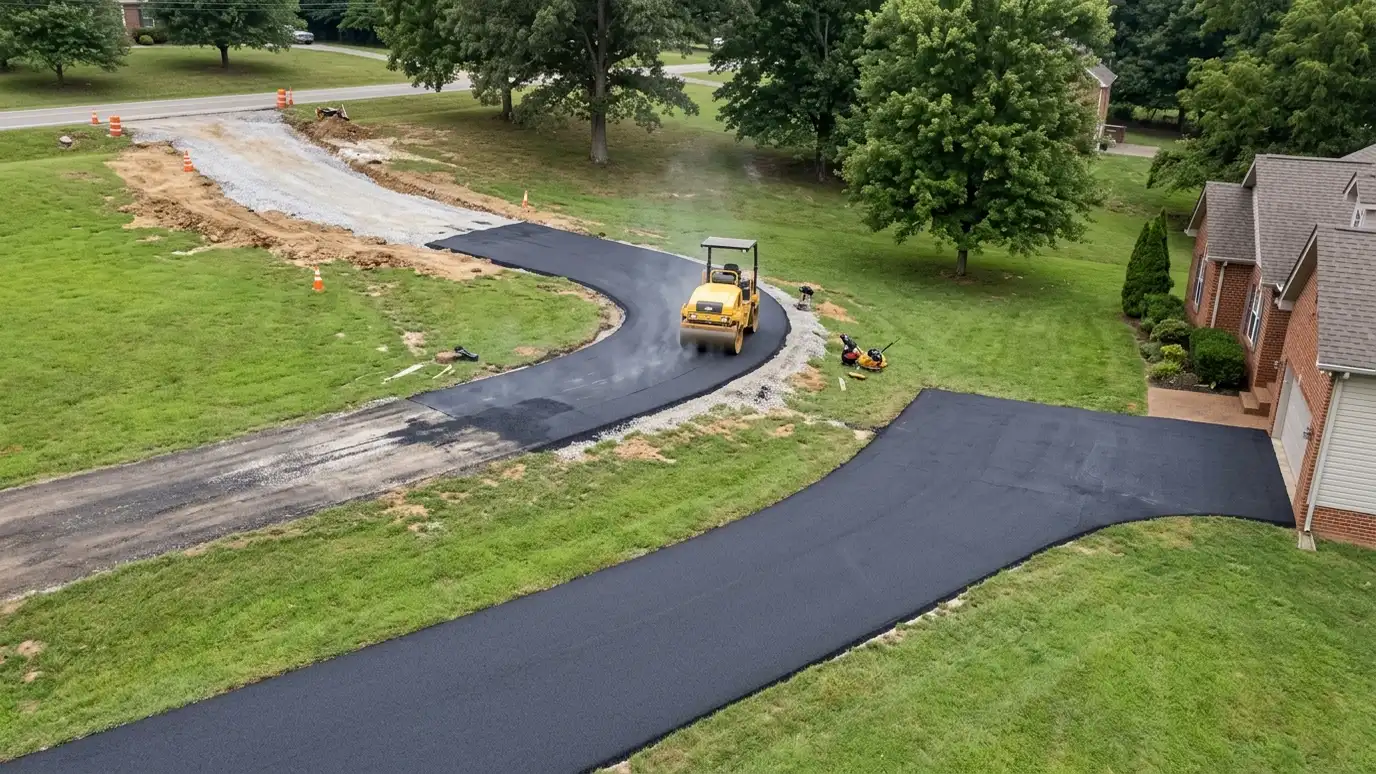
Hot mix arrives at the right temperature and is spread with a paver or by hand in tight areas. A roller compacts it while it is still hot, which gives the density that makes asphalt strong. Joints are tied in carefully.
The work moves quickly because the mix cools. We check thickness, smoothness and slope as we go.
Temperature and timing matter here. Hot mix must be placed and rolled while it is still hot, so the crew works steadily, matches joints carefully and uses hand tools in tight spots and along edges.
Step six: edges, finishing and cleanup
Edges are shaped, shoulders are dressed with soil or stone and the surface is checked for birdbaths. We remove debris, sweep and walk the site with you.
If striping, curbs or borders are part of the project, they are finished at this stage.
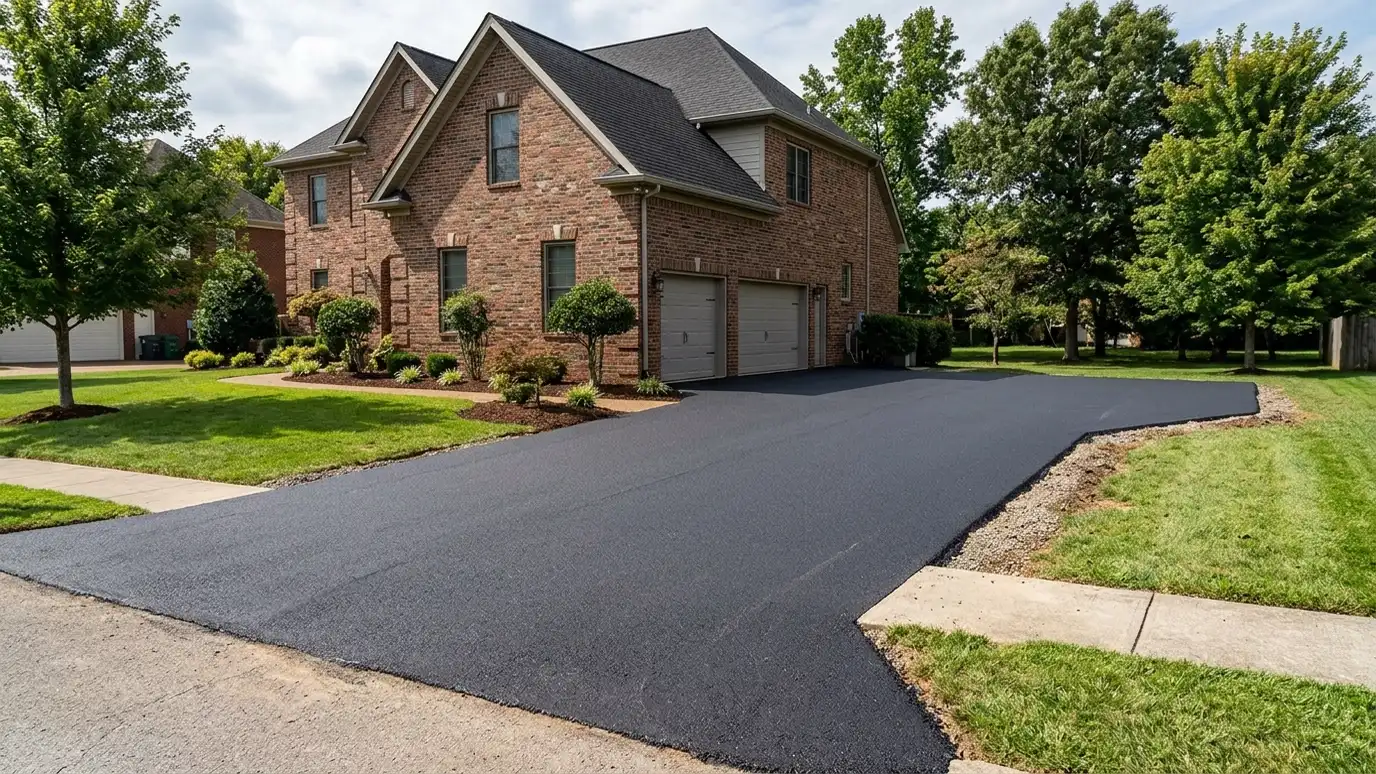
Cleanup should be part of the job, not an extra. Stray stone is swept, tools are loaded, edges are dressed and the area is left tidy, so you see a finished driveway and not a work site.
Step seven: curing and aftercare
Keep vehicles off for the first day or two, avoid turning wheels while stopped and keep heavy loads off for several weeks. The surface hardens gradually, and light scuffs fade.
We explain when to sealcoat and how to maintain the pavement, so the finished project keeps its value for years.
We walk the finished pavement with you, explain the first weeks of care and remind you when sealcoating makes sense. Keep our contact information, since a good contractor stays available after the trucks leave.
A good paving job is mostly preparation: measure well, build a solid base, pave in the right weather and protect the surface while it cures.